Add a new customer
If “+Appointment for a New Customer” was selected at any point, the following page appears:

Note: If creating a quick appointment without VIN or
Start by entering the
- Select Business type of
- Complete the customer information fields. Note that the address defaults to the
- On the vehicle side of the page, enter the VIN, and click “Decode” to populate the rest of the vehicle fields.
- If a vehicle’s VIN is not available or does not fully decode, manually complete the information in order to display the correct maintenance schedule in the Services tab.
- If a vehicle’s VIN is already assigned to another
- If the VIN decodes, the "
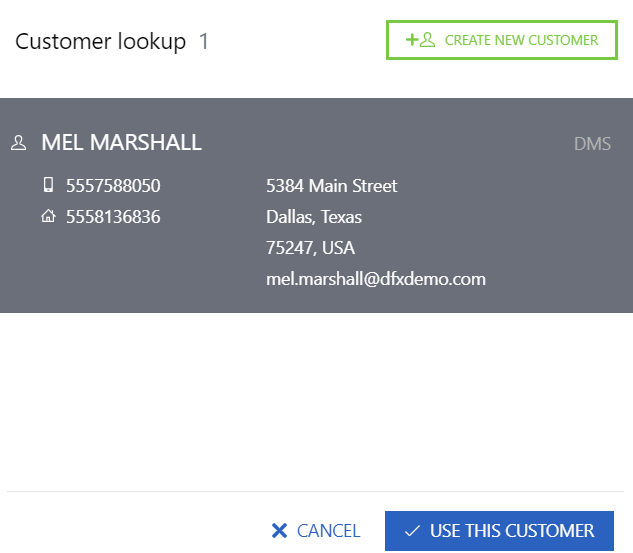
- The Customer Lookup results appear on the right of the page.
- 'DMS' indicates a result from the DMS.
- To use a record, click on it then click "Use this Customer". The
- To continue without using any of the results, click "Cancel".
Note: DMS VIN Search is not available for SERTI.
Note: Some VINs do not decode the Transmission field properly. Select it manually as needed.
- Enter the Odometer reading (or approximate odometer reading). This is mandatory as it triggers the correct maintenance recommendations on the Services tab.
- If the
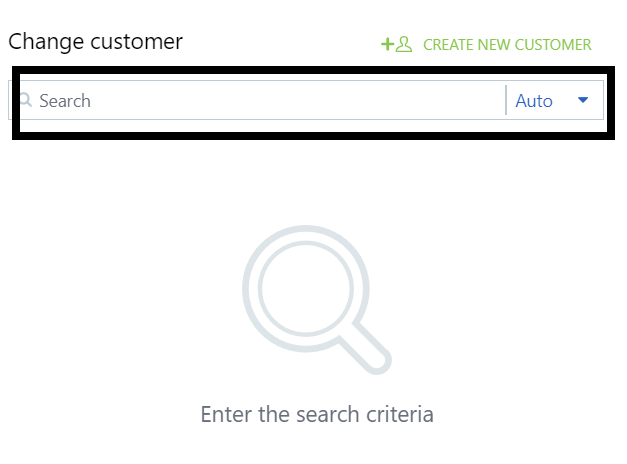
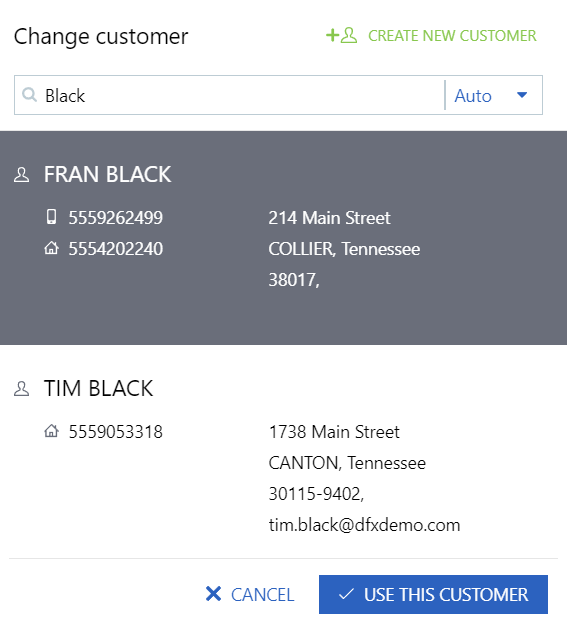
Enter the new search criteria then click on a
- Click “Cancel” or "Create new customer" to return to creating the new
or - Click “Use this customer” to move the selected
Refer to the Setting up the appointment to continue with the appointment setup.